


This dairy-free pumpkin pie delivers all the cozy flavor of the classic with none of the lactose thanks to almond milk and a shortening crust.
Dairy-Free Pumpkin Pie


With a creamy, spiced filling and a flaky, golden crust, this dairy-free pumpkin pie has everything you love about the classic dessert—without cow’s milk. Most traditional pumpkin pie recipes call for evaporated milk, but the secret to this nondairy version is using your favorite nondairy milk—whether that’s almond, oat, coconut or soy—to create a rich custard filling.
This pie is make-ahead friendly and won’t leave you with a partial can of leftover pumpkin. The recipe uses a full 15-ounce can and makes two pies—perfect for feeding a holiday crowd or freezing one for later. If you want to bake just one pie, simply halve the recipe.
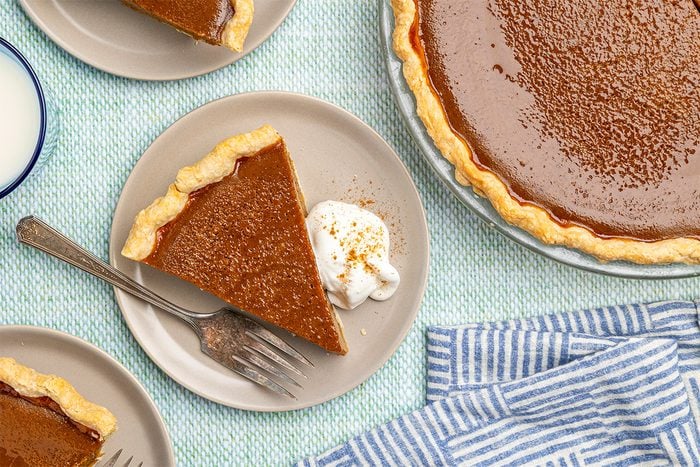
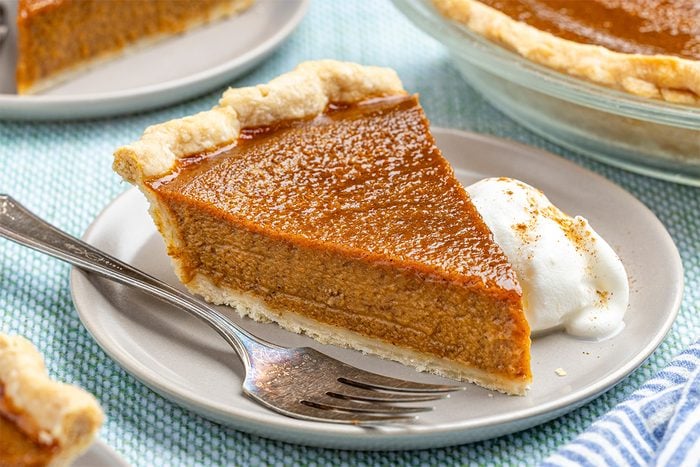
Whether you’re serving vegan or lactose-intolerant guests, or just want a lighter spin on a holiday favorite, this dairy-free dessert is a decadent treat everyone can enjoy. Top a slice with dairy-free whipped cream, and we promise you won’t miss the milk at all!
Dairy-Free Pumpkin Pie Ingredients
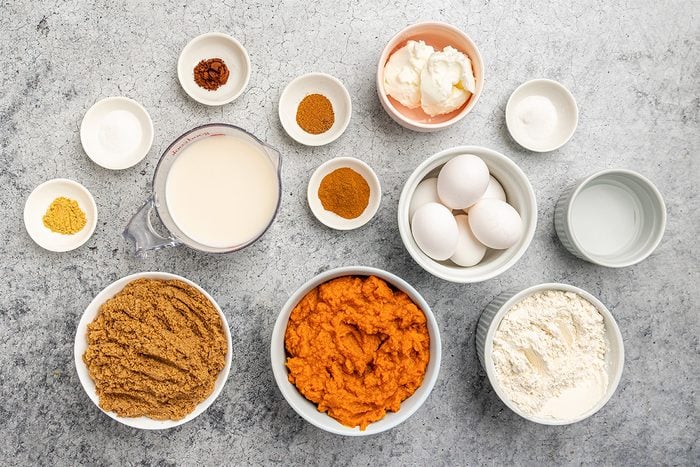
- Eggs: Eggs are essential to creating a creamy, dairy-free pumpkin pie filling that properly sets. Make sure to use large eggs and bring them to room temperature before mixing so they blend smoothly with the other ingredients.
- Canned pumpkin: Be sure to grab canned pumpkin puree, not pumpkin pie filling. One can makes enough filling for two pies—if you don’t want to bake two, you’ll find tips on halving the recipe below.
- Brown sugar: Since this recipe skips evaporated milk (which is naturally sweet), you’ll need quite a bit of added sugar for balanced flavor. The higher sugar content also helps keep the pumpkin custard from cracking as it cools, so don’t reduce the amount. Light or dark brown sugar both work, depending on how deep a molasses flavor you prefer.
- Spices: Ground cinnamon, cloves, nutmeg and ginger give the pie its signature cozy flavor. For convenience, swap in pumpkin pie spice as an all-in-one option.
- Almond milk: We recommend using almond milk, but you can use any unsweetened, unflavored nondairy milk such as oat or soy milk in order to make a creamy, neutral-tasting filling. Try canned coconut milk for a hint of tropical flavor and richer texture. There are so many nondairy options, so use your favorite or what you have on hand.
- Homemade pie crust: You need just four ingredients—all-purpose flour, salt, shortening and cold water—to make a classic crust that’s naturally dairy-free. As a bonus, using shortening delivers an extra-flaky crust! Unlike butter, shortening doesn’t contain any water and is 100% fat—the lack of water helps create layers of tender, flaky pastry.
Directions
Step 1: Make the crusts
In a large bowl, stir together the flour and salt. Cut in the shortening with a pastry blender or two forks until the mixture looks crumbly. Add the ice water, one tablespoon at a time, and toss the dough with a fork after each addition. Stop as soon as the dough holds together when pressed. Divide the dough in half and shape each half into a disc. Cover and refrigerate the discs for 30 minutes.
Editor’s Tip: Short on time? Use a store-bought pie crust so you can focus on the pumpkin filling. Just be sure to double-check the ingredient list to make sure it’s dairy-free.
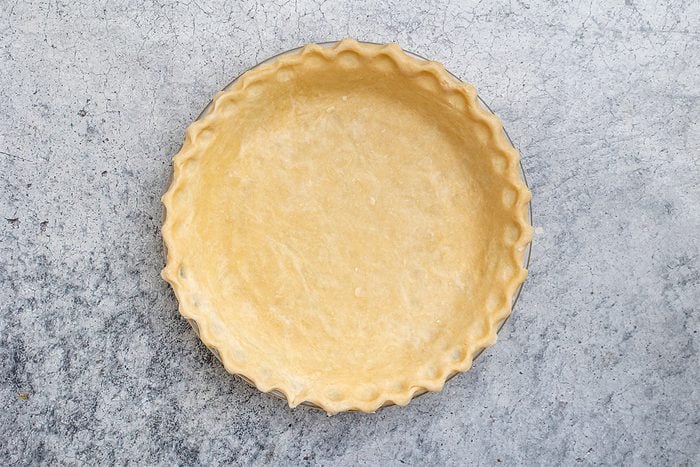
Step 2: Roll the crusts
On a lightly floured surface, roll one piece of dough into a 1/8-inch-thick circle, then transfer it to a 9-inch pie plate. Trim the crust to 1/2 inch beyond the rim of plate, then flute the edge. Repeat the process with the second portion of dough. Refrigerate the crusts for 30 minutes. Preheat the oven to 450°F.
Editor’s Tip: Don’t toss your dough scraps—roll them out and cut into leaves, pumpkins or other festive shapes to bake separately and arrange on top of your cooled pies.
Step 3: Mix the filling
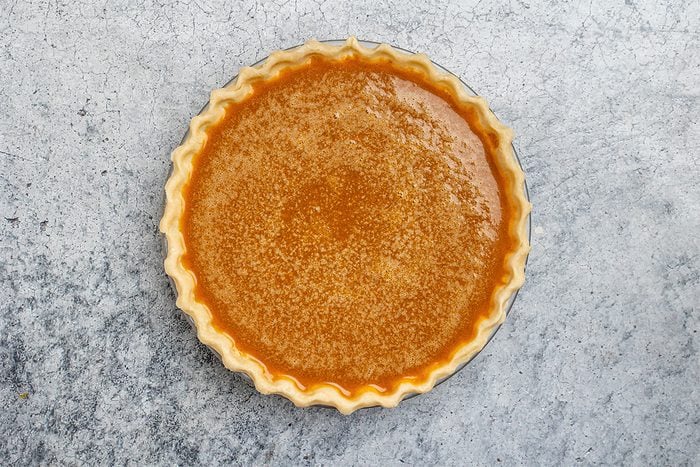
In a large bowl, combine the eggs, pumpkin, brown sugar, cinnamon, salt, cloves, nutmeg and ginger until they’re smooth. Gradually add the almond milk (or your preferred nondairy milk). Divide the mixture evenly between your two pastry shells.
Editor’s Tip: A ladle makes it easy to transfer the pumpkin pie filling without dripping on the edges of your crust. Plus, it makes it easy to portion the filling evenly—just count how many scoops go into each pie.
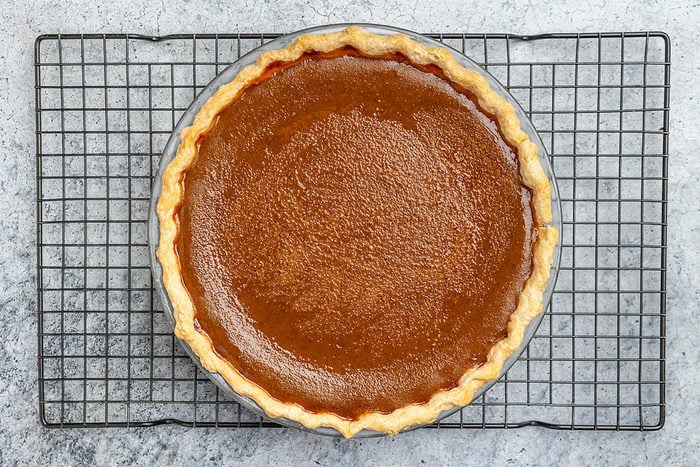
Step 4: Bake and cool the pies
Bake the pies for 15 minutes, then reduce the oven temperature to 350°. Bake them until the centers are set and the filling is beginning to crack (cover the edge with foil during the last 15 minutes to prevent overbrowning if necessary), about 40 to 45 minutes longer. Baking time can vary depending on the type of milk you use (see tip below).
Cool the pies on wire racks for at least one hour. Serve slices of pie warm with a dollop of whipped coconut cream, or refrigerate them overnight or until they’re set.
Editor’s Tip: To test for doneness, insert a knife into the center. If it comes out clean, the pies are done. You can also gently shake the pie—the filling should be set around the edges but still have a slight jiggle in the center.
Dairy-Free Pumpkin Pie Variations
- Explore other toppings: For extra crunch and flavor, sprinkle the finished pies with candied pecans or spiced nuts. When it’s time to serve, add a scoop of vegan ice cream or dairy-free whipped cream to the plate.
- Make a coconut pumpkin pie: Use full-fat canned coconut milk in the filling and garnish the baked pie with toasted coconut flakes and whipped coconut cream.
- Turn them into single-serving desserts: Instead of baking two pies, press the crust into muffin tins and fill them with the pumpkin custard to make mini pumpkin pies—no slicing required.
- Go gluten-free: Swap the all-purpose flour in the crust for a one-to-one gluten-free flour blend. You could also use a store-bought gluten-free crust to save time, or skip the pastry and make a crustless pumpkin pie with the dairy-free filling.
How to Store Dairy-Free Pumpkin Pie
Because the filling is a custard, these pumpkin pies need to be refrigerated. After your pies have cooled for at least one hour on the counter, transfer them to a pie storage container or cover them loosely with foil or storage wrap, then place them in the fridge. They’ll keep for three to four days.
Can you freeze dairy-free pumpkin pie?
Yes, you can freeze this dairy-free pumpkin pie. Since this recipe makes two pies, you can serve one now and freeze the other for later. If you plan to freeze pies, consider baking them in disposable aluminum pans for easier storage.
After baking, allow the pie to cool completely. Wrap it tightly in storage wrap, followed by a layer of aluminum foil to protect against freezer burn. Store the pie in the freezer for up to one month. Before serving the pie, thaw it overnight in the fridge.
Can you make nondairy pumpkin pie ahead of time?
Yes, like traditional pumpkin pie recipes, you can make this dairy-free version days or weeks in advance. Bake the pie as directed, let it cool completely at room temperature, then cover and refrigerate it up to two days ahead of time. If you’d like to get a bigger head start on holiday prep, freeze the baked, cooled pie for up to a month and thaw it overnight in the fridge before serving it.
Dairy-Free Pumpkin Pie Tips
Can I cut this recipe in half?
If you prefer to make just one pie, you can easily halve this dairy-free pumpkin pie recipe. Simply divide all the ingredients in half and follow the same assembly and baking instructions. You’ll have a partial can of pumpkin puree leftover; use it to make another dairy-free treat like pumpkin pancakes or pumpkin whoopie pies.
Do I have to use shortening in the crust?
We recommend using shortening in the crust because it’s dairy-free and makes it super flaky, but you don’t have to use it if you don’t want to. If you’d like a buttery flavor, try butter-flavored shortening or swap some (not all) of the shortening with a vegan butter. Miyoko’s is a favorite in our Test Kitchen, but any dairy-free butter will work. Using a mix of both shortening and plant-based butter will give you maximum flavor and flakiness.
How do you prevent pumpkin pie from cracking?
To ensure your pumpkin pie filling doesn’t crack, don’t overcook the pie and let it cool gently on a rack at room temperature. Take your pie out of the oven when the edges are set and the center still has a slight jiggle. If you wait until the middle looks firm, it’s already overdone. You risk cracking the filling if you try to speed up the cooling process by popping the pie in the fridge too soon.
The beauty of this dairy-free pumpkin pie recipe is that it’s naturally less prone to cracking. The higher sugar content keeps the custard tender and prevents it from firming up too quickly. And if a crack does sneak in? Just top the pie with dairy-free whipped cream and no one will notice.
Ingredients
- 2 cups all-purpose flour
- 3/4 teaspoon salt
- 2/3 cup shortening
- 4 to 6 tablespoons ice water
- filling:
- 6 large eggs, room temperature
- 1 can (29 ounces) canned pumpkin
- 2 cups packed brown sugar
- 2 teaspoons ground cinnamon
- 1 teaspoon salt
- 1/2 teaspoon ground cloves
- 1/2 teaspoon ground nutmeg
- 1/2 teaspoon ground ginger
- 2 cups unsweetened almond milk
- Whipped dairy-free heavy whipping cream, optional
Directions
- In a large bowl, mix flour and salt; cut in shortening until crumbly. Gradually add ice water, tossing with a fork until dough holds together when pressed. Shape into two disks. Cover each and refrigerate 30 minutes.
- On a lightly floured surface, roll one portion of dough into a 1/8-in.-thick circle; transfer to 9-in. pie plate. Trim crust to ½-in. beyond rim of plate; flute edge. Repeat with second portion of dough. Refrigerate 30 minutes. Preheat oven to 450°.
- In a large bowl, combine first 8 filling ingredients until smooth. Gradually add almond milk. Divide filling into crusts. Bake for 15 minutes; reduce oven temperature to 350°. Bake until centers are set and filling is beginning to crack (cover edges with foil during the last 15 minutes to prevent overbrowning if necessary), 40-45 minutes longer. Cool pies on a wire rack for 1 hour. Serve warm or refrigerate overnight or until set. If desired, serve with whipped dairy-free whipping cream.
Loading Popular in the Community
Loading Reviews