


These mini cherry cheesecakes are evidence that everything is better in miniature.
The dessert table can be tricky at parties, potlucks and gatherings of all sizes. If a whole cake or pie remains uncut, guests might hold back from taking the first slice. That’s where individual desserts like mini cherry cheesecakes come in handy. Whether it’s officially time for dessert or not, you can sneak one off the tray without breaking any possible dinner party faux pas.
Like many miniature dessert recipes, this individual cherry cheesecake recipe uses a standard-size muffin pan and liners to perfectly portion the ingredients into pint-sized desserts you can devour in just a few bites. The base of these mini cherry cheesecakes is similar to what you’d find in a classic cheesecake recipe, with a base made of cream cheese, sugar, eggs and a bit of lemon juice and vanilla. It’s baked to perfection in a simple vanilla wafer crust, then each mini cheesecake is finished with an easy homemade cherry pie filling that sets up as they cool in the refrigerator.
Ingredients for Mini Cherry Cheesecakes
- Vanilla wafers: Vanilla wafer cookies are crushed and molded into a sweet crust for the base of these mini cheesecakes.
- Butter: Butter adds richness to the crust and creates steam pockets while baking, making it light and delicate.
- Cream cheese: For best results, use full-fat cream cheese. If you prefer a low-fat recipe, consider using the base for this light cheesecake. Let the cream cheese soften at room temperature for easier blending.
- Sugar: Sugar is essential in cheesecake because it sweetens the filling, balances the tang of the cream cheese and influences the texture and structure of the recipe.
- Lemon juice: Lemon juice adds brightness and acidity to the cheesecake filling, which cuts through the richness of the cream cheese.
- Vanilla: Cheesecake filling has so few ingredients. Therefore, splurge on a high-quality vanilla extract brand to get the best-tasting cheesecake.
- Egg: The key to making cheesecake is getting the number of eggs right. Too many eggs will make it too light and fluffy, which can cause it to crack or sink. Conversely, not enough eggs will lead to an overly dense cheesecake. Let the eggs come to room temperature before mixing them in.
- Cherries: Use pitted canned or frozen tart red cherries for the pie filling.
- Cornstarch: Cornstarch is one of our favorite thickeners for fruit pie. Just be sure to cook the filling to a high enough temperature so the cornstarch activates and thickens the filling properly.
- Red food coloring: As the cherry mixture thickens, add a few drops of red food coloring to make the topping super vibrant and red. It’s completely optional.
Directions
Step 1: Prepare the crusts
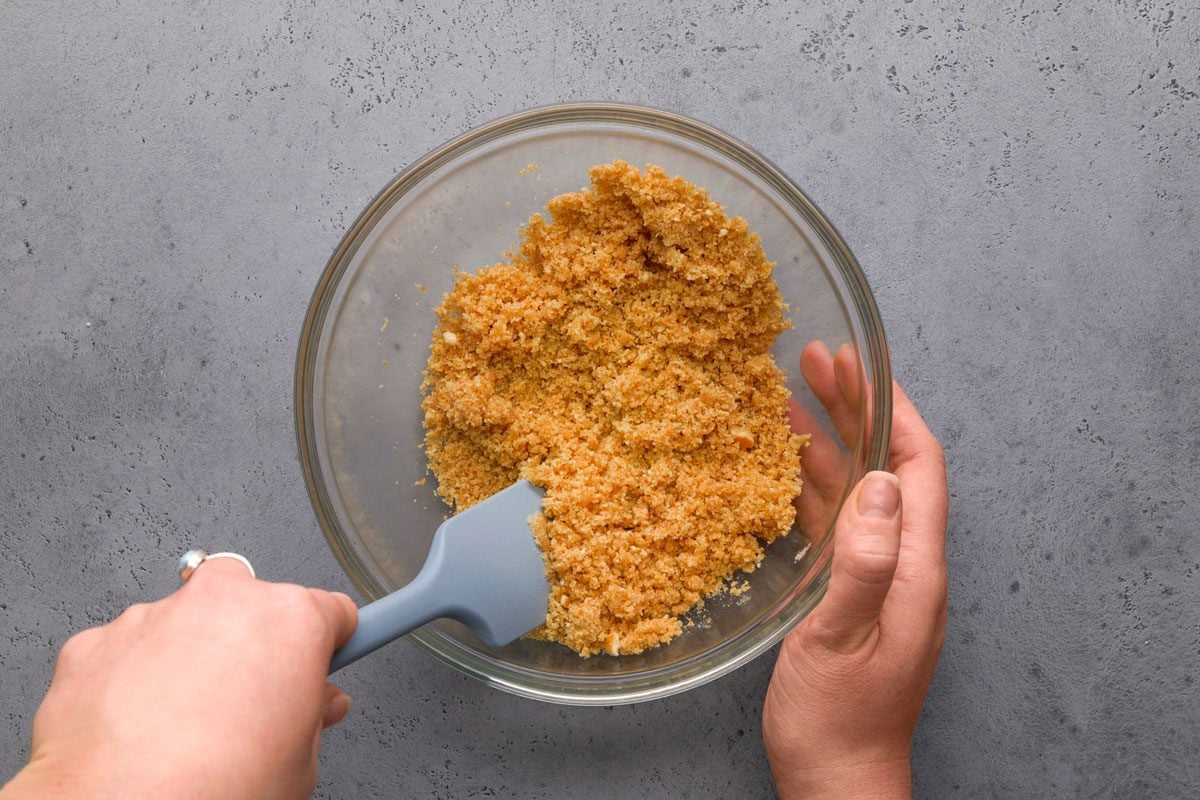
Preheat the oven to 350°F. In a bowl, combine the vanilla wafer crumbs and butter.

Divide the mixture evenly and press gently into the bottoms of 12 paper- or foil-lined muffin cups.
Editor’s Tip: One way to ensure the crusts don’t burn when baking the cheesecakes is to keep the crust even and not too thick in the liners. It should be 1/4-inch thick or less.
Step 2: Make the filling

In another bowl, combine the cream cheese, sugar, lemon juice and vanilla extract. Add the egg and beat on a low speed just until combined.

Spoon the filling over the crusts.
Editor’s Tip: Take care not to overmix the filling (a common cheesecake mistake) as it will incorporate too much air into the mixture and impact the overall texture of the mini cherry cheesecakes. For mixing, use either an electric hand mixer or a stand mixer fitted with a paddle attachment.
Step 3: Bake the mini cheesecakes
Bake until the centers are almost set, 12 to 15 minutes. Cool the mini cheesecakes completely.
Editor’s Tip: These cook fast, so watch the time so the crusts don’t burn. Check at the lower end of the time range and add more time as needed.
Step 4: Cook the cherry topping
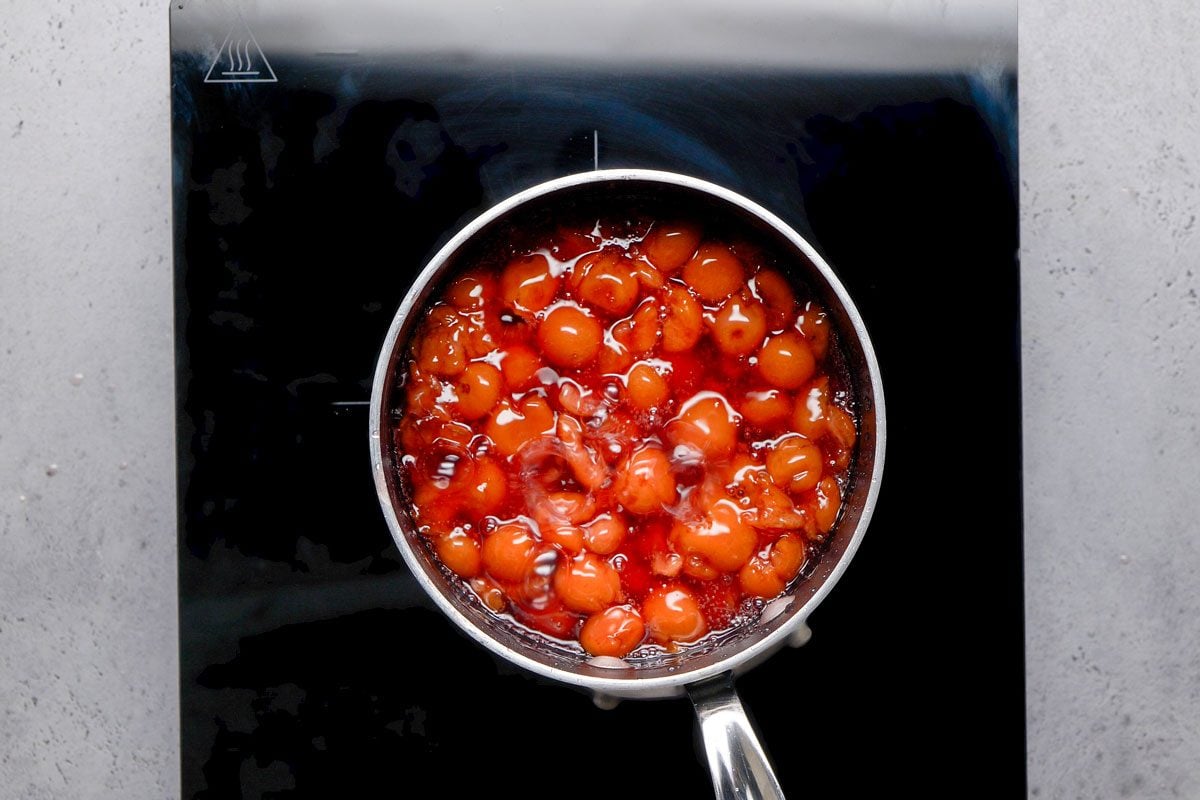
While the cheesecakes bake and cool, prepare the topping. Drain the cherries, reserving 1/2 cup of juice in a saucepan. Discard the remaining juice or save it for another use. To the reserved 1/2 cup of cherry juice, add the cherries, sugar, cornstarch, and, if desired, food coloring. Bring the mixture to a boil and cook it for one minute or until it has thickened.
Step 5: Spoon on top and refrigerate
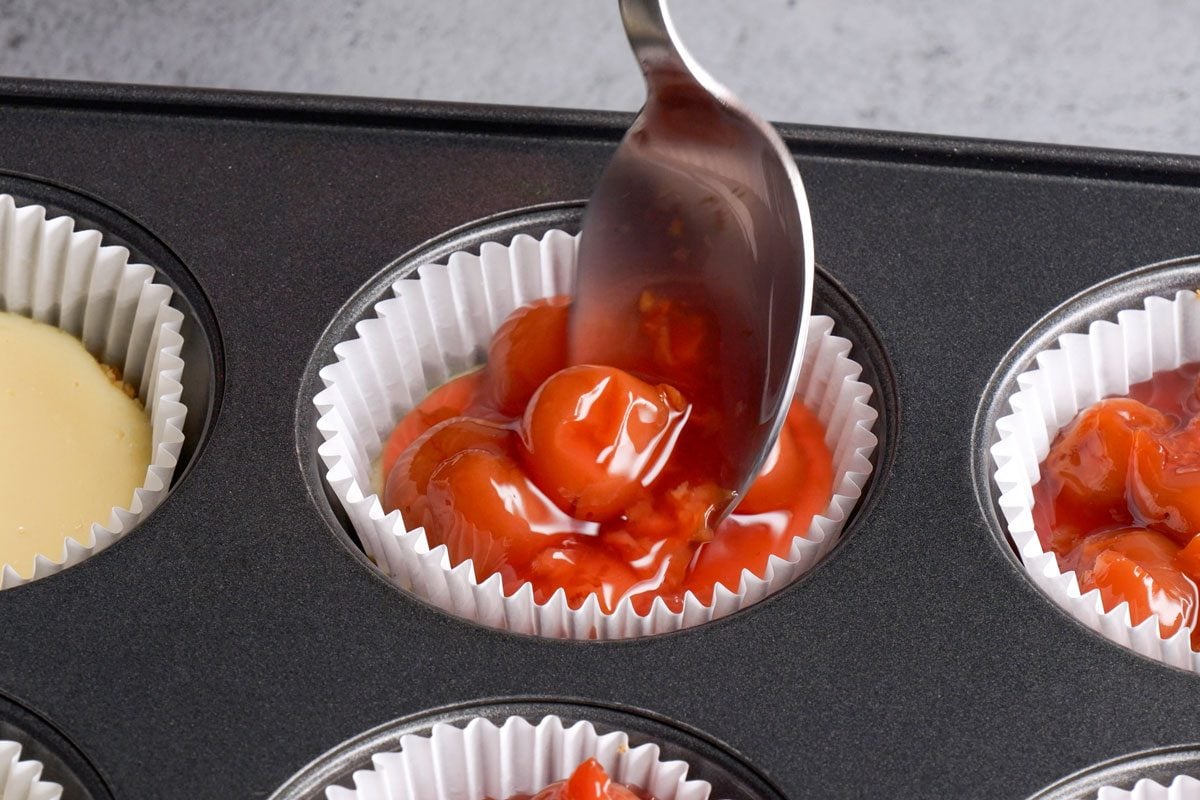
Cool the cherry mixture and spoon it over the cheesecakes. Refrigerate them, covered, for at least two hours.

Mini Cherry Cheesecake Variations
- Change the crust: For a sweet-salty twist on the mini cheesecakes, make a crumb crust with pretzels. Or make a chocolate version with an Oreo pie crust.
- Change the fruit: Replace the cherries with strawberries, blueberries or raspberries to celebrate warm-weather produce making its yearly debut. Cooler weather on the horizon? Swap in an easy apple pie filling.
- Go with another topping: If you’re not a fan of fruity cheesecakes, try topping each cheesecake with crushed Oreos and a drizzle of homemade chocolate ganache.
- Make it gluten-free: For gluten-free mini cherry cheesecakes, opt for gluten-free vanilla wafers or graham crackers. You could also omit the crust and make these cherry cheese cups instead.
How to Store Mini Cherry Cheesecakes
Store mini cherry cheesecakes in an airtight container in one layer in the fridge for up to four days.
Can you freeze mini cherry cheesecakes?
Yes! Cheesecakes, big and small, freeze like a dream. To freeze a cheesecake, leave off the topping and store it in an airtight freezer container for up to three months. Thaw the mini cheesecakes completely (overnight usually does the trick), make the topping, chill them and serve them.
Mini Cherry Cheesecakes Tips

Can you use store-bought cherry pie filling instead of making it from scratch?
Yes, if you’re short on time, you can use a store-bought canned cherry pie filling for the homemade one in this recipe.
How do you tell when mini cherry cheesecakes are done baking?
The wobble test is one of our top tips for making cheesecake and testing it for doneness. Simply whack the side of the pan with a wooden spoon. If the cheesecakes slightly wobble in the center, they are ready to be removed from the oven. If the cheesecake sloshes around or ripples like the ocean, they likely need a few more minutes to bake.
Can you make mini cherry cheesecakes in a different kind of pan?
Yes! While a muffin pan makes baking these individual cherry cheesecakes a breeze, you can make them in 3-inch tart pans. If you want to make a regular-sized cheesecake, this recipe should yield enough crust, filling and topping to make one 9-inch cheesecake in a springform pan. Remember that a regular-sized cheesecake will require a much longer bake time. If you want to make a large cheesecake, your best bet would be to follow our best-ever cheesecake recipe and top it with cherry pie filling.
Ingredients
- 1 cup crushed vanilla wafers (about 30 wafers)
- 3 tablespoons butter, melted
- 1 package (8 ounces) cream cheese, softened
- 1/3 cup sugar
- 2 teaspoons lemon juice
- 1-1/2 teaspoons vanilla extract
- 1 large egg, room temperature, lightly beaten
- topping:
- 1 pound pitted canned or frozen tart red cherries
- 1/2 cup sugar
- 1 tablespoon cornstarch
- Red food coloring, optional
Directions
- Preheat oven to 350°. Combine crumbs and butter; press gently onto bottoms of 12 paper-lined or foil-lined muffin cups. In another bowl, combine cream cheese, sugar, lemon juice and vanilla. Add egg; beat on low speed just until combined. Spoon over crusts.
- Bake until centers are almost set, 12-15 minutes. Cool completely.
- For topping, drain cherries, reserving 1/2 cup juice in a saucepan; discard remaining juice or save for another use. To reserved 1/2 cup juice, add cherries, sugar, cornstarch and, if desired, food coloring. Bring to a boil; cook until thickened, about 1 minute. Cool; spoon over cheesecakes. Refrigerate, covered, at least 2 hours.
Loading Popular in the Community
These little cheesecakes make a fun dessert that's just right for cooks who don't have a lot of time for fussy recipes. Plus, you get to eat a whole mini cheesecake yourself! —Kay Keller, Morenci, Michigan
Recipe Creator
Loading Reviews